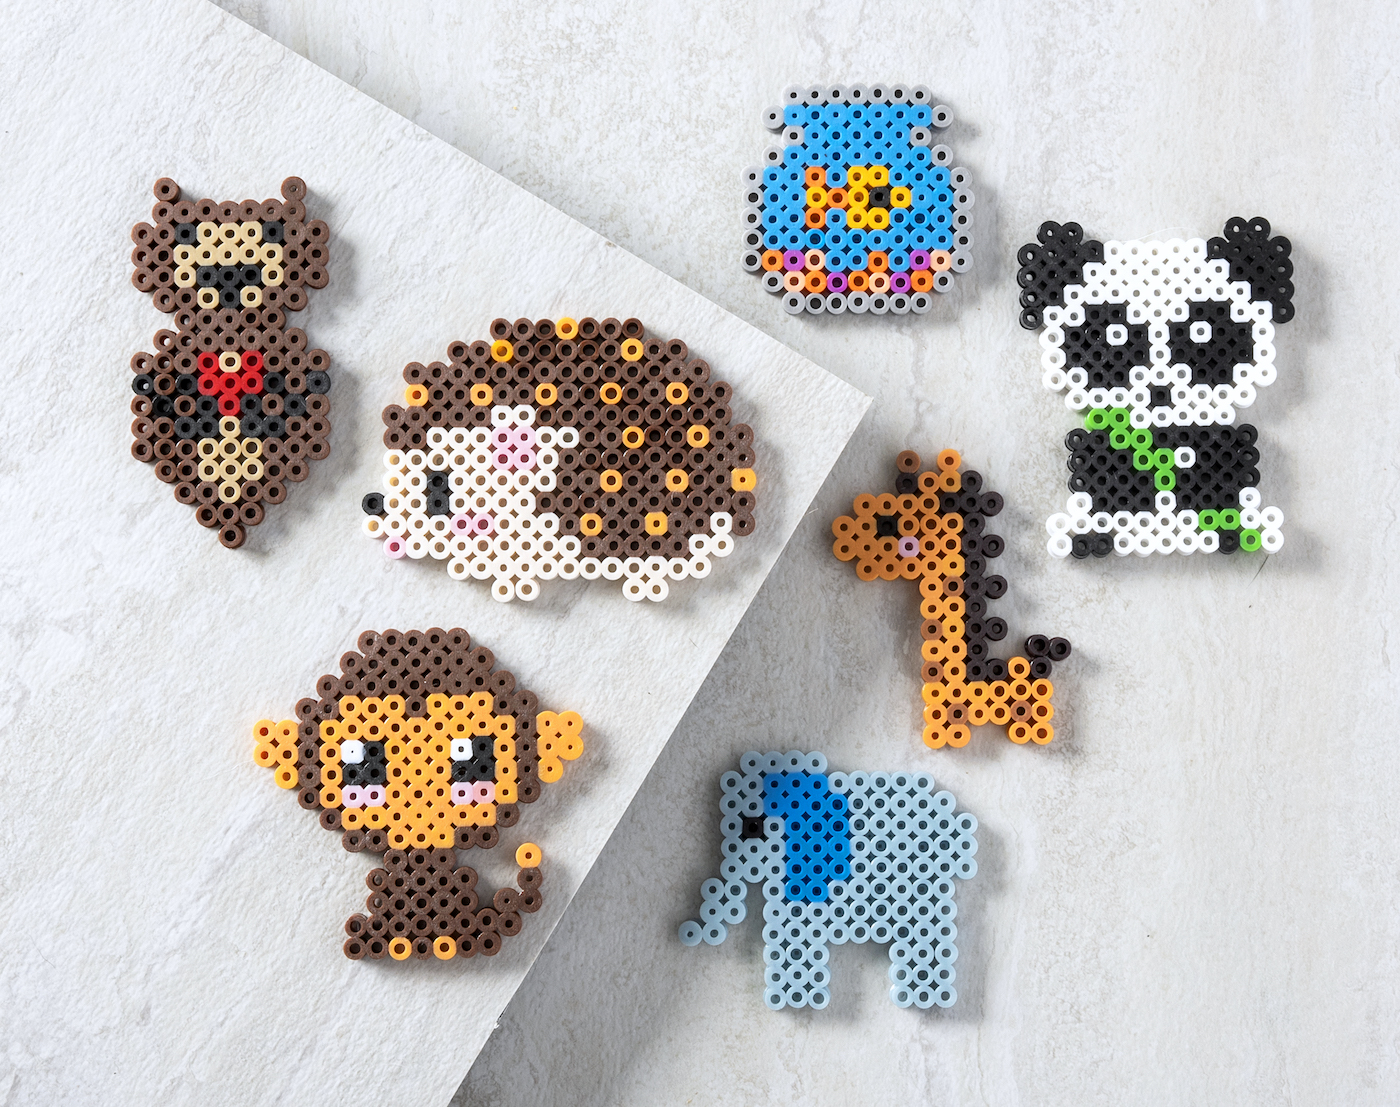
In the realm of crafting activities, Perler beads have emerged as a popular choice for both children and adults, offering a delightful blend of creativity and relaxation. These colorful beads, reminiscent of 8-bit video game graphics, can be transformed into a myriad of pixelated creations, from whimsical characters to vibrant decorations. For those embarking on their Perler bead journey, easy animal patterns provide an excellent starting point, allowing beginners to hone their skills and create adorable pixelated companions.
I. Introduction
A. Brief overview of the appeal of Perler bead crafts
The world of Perler bead crafts has captivated the hearts of individuals of all ages, offering a unique and engaging creative outlet. These tiny beads, akin to miniature pixelated mosaics, transform into charming creations that adorn homes, accessorize outfits, and bring smiles to faces. The allure of Perler bead crafting lies in its simplicity, accessibility, and the endless possibilities it presents for artistic expression.
B. Introduction of the benefits of starting with easy animal Perler bead patterns
For those venturing into the realm of Perler bead creations, easy animal patterns serve as an ideal stepping stone, providing a gentle introduction to the techniques and joys of this craft. These beginner-friendly patterns offer several advantages:
-
Manageable Complexity: Easy animal patterns typically involve a smaller number of beads and a simpler arrangement, making them less daunting for beginners.
-
Skill Development: As beginners work on easy animal patterns, they develop essential skills such as bead placement, ironing techniques, and color coordination.
-
Sense of Accomplishment: Completing easy animal patterns fosters a sense of accomplishment and boosts confidence, encouraging beginners to continue their Perler bead crafting journey.
-
Creativity Exploration: Easy animal patterns provide a foundation for exploring creativity and experimenting with different color combinations and designs.
II. Gathering Materials and Tools
A. Essential materials: Perler beads, pegboards, ironing paper, iron
Embarking on your Perler bead crafting adventure requires gathering a few essential materials:
-
Perler Beads: These colorful beads come in a variety of sizes, commonly referred to as Midi, Mini, and Large. The size you choose will depend on the pattern and your desired creation.
-
Pegboards: These plastic boards with evenly spaced pegs serve as the foundation for your bead creations. The pegboard size should match the bead size and the dimensions of your chosen pattern.
-
Ironing Paper: This heat-resistant paper is placed between the beads and the iron during the fusing process. It protects your pegboard and prevents the beads from sticking to the iron.
-
Iron: A household iron is used to apply heat and fuse the Perler beads together, transforming them into a solid creation.
B. Optional materials: Tweezers, bead organizers, templates
While the essential materials listed above will get you started, a few optional items can enhance your Perler bead crafting experience:
-
Tweezers: These small precision tools can be helpful for placing tiny beads or correcting any bead placement mistakes.
-
Bead Organizers: These containers or trays help keep your beads organized by color, making it easier to find the beads you need.
-
Templates: For patterns that don’t come with a visual guide, templates can be used to mark the bead placement on the pegboard.
III. Selecting the Right Perler Beads
A. Understanding bead sizes: Midi, Mini, and Large Perler beads
Perler beads come in three main sizes: Midi, Mini, and Large. The size you choose will depend on the pattern and your desired creation:
-
Midi Perler Beads: These are the most common size for beginners, offering a balance between bead size, level of detail, and ease of use.
-
Mini Perler Beads: These smaller beads create more intricate designs but require more precision and patience to work with.
-
Large Perler Beads: These larger beads are ideal for quick and chunky creations, making them a good choice for younger children.
B. Choosing colors: Matching beads to pattern requirements
Perler bead patterns typically specify the colors needed for each bead. When selecting beads, ensure they closely match the colors specified in the pattern to achieve the desired look.
IV. Choosing a Suitable Pegboard
A. Pegboard size considerations: Matching pegboard size to bead size and pattern dimensions
The size of the pegboard you choose should match the size of the beads you’re using and the dimensions of your pattern:
-
Bead Size Compatibility: Ensure the pegboard holes are large enough to accommodate the size of the beads you’re using.
-
Pattern Dimensions: Choose a pegboard that is large enough to fit the entire pattern without going over the edges.
-
B. Pegboard types: Clear and opaque pegboards
Pegboards come in two main varieties: clear and opaque. The type you choose can affect the final appearance of your creation:
-
Clear Pegboards: These transparent pegboards allow you to see the ironing paper and pattern underneath, making it easier to ensure accurate bead placement.
-
Opaque Pegboards: These solid-colored pegboards can add a background color to your creation, eliminating the need for ironing paper in some cases. However, opaque pegboards can make it slightly more challenging to line up the beads perfectly with the pattern.
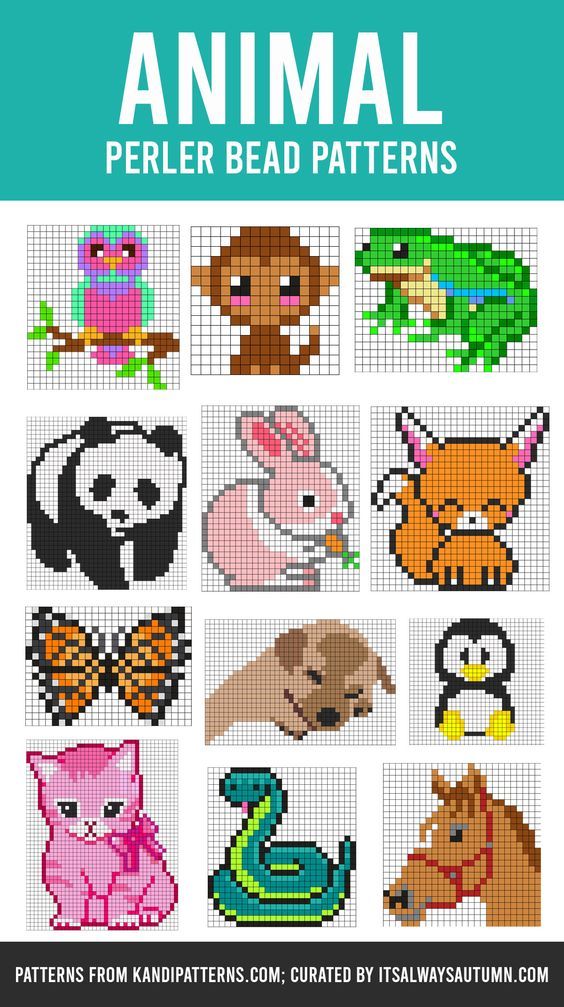
V. Finding Easy Animal Perler Bead Patterns
A. Online resources: Websites and forums dedicated to Perler bead patterns
The internet offers a vast treasure trove of Perler bead patterns, with easy animal patterns being readily available:
-
Dedicated Websites: Many websites specialize in Perler bead crafting, offering free and paid patterns for various skill levels, including a wide selection of easy animal designs.
-
Online Forums: Online communities and forums dedicated to Perler beading can be a great resource for finding patterns, sharing tips, and getting inspiration from other crafters.
B. Pattern books and magazines
For those who prefer a physical copy, pattern books and magazines specifically focused on Perler bead creations can be found in craft stores and online retailers. These resources often feature easy animal patterns alongside detailed instructions and colorful illustrations.
VI. Setting Up Your Workspace
A. Choosing a well-lit and spacious area
Creating Perler bead art requires a dedicated workspace that is well-lit and spacious:
-
Good Lighting: Proper lighting allows you to see the colors of the beads clearly and ensure accurate placement.
-
Adequate Space: Choose a flat surface with enough space to comfortably spread out your pegboard, beads, ironing paper, and iron.
B. Organizing your materials
Having your materials organized before you begin will make the crafting process smoother and more enjoyable:
-
Sort Beads by Color: Separate your beads by color according to the pattern requirements. Bead organizers can be helpful for this purpose.
-
Prepare Ironing Paper: Cut a piece of ironing paper to a size slightly larger than your pegboard.
-
Have the Iron Ready: Set your iron to a medium heat setting, appropriate for fusing Perler beads. Consult the ironing instructions on the bead packaging for specific recommendations.
VII. Creating Your Pixelated Pals
A. Placing beads on the pegboard: Following the pattern and ensuring proper bead placement
With your workspace prepared, it’s time to bring your chosen animal pattern to life:
-
Following the Pattern: Carefully study your chosen pattern and identify the colors and placement of each bead.
-
One Bead at a Time: Place the beads on the pegboard one by one, following the pattern meticulously. Ensure each bead sits flat on a peg and doesn’t overlap with neighboring beads.
-
Double-Check Placement: Before ironing, take a moment to double-check your bead placement against the pattern to ensure accuracy.
B. Ironing the beads: Fusing the beads together using an iron and ironing paper
Once all the beads are placed on the pegboard according to the pattern, it’s time to fuse them together:
-
Preheat the Iron: Set your iron to the recommended heat setting as specified on the bead packaging or ironing instructions.
-
Layering the Ironing Paper: Place the pre-cut ironing paper on top of the beads on the pegboard.
-
Ironing Technique: Apply gentle and even pressure with the iron, moving it slowly across the ironing paper for a few seconds. Avoid holding the iron in one spot for too long to prevent melting the beads.
-
Cooling Down: Allow the fused creation to cool completely before handling it. The ironing paper can be carefully peeled off once the beads have hardened.
C. Removing the creation from the pegboard: Gently lifting the finished piece from the pegboard
After the creation has cooled completely, it’s time to remove it from the pegboard:
-
Gently Flip: Carefully flip the pegboard upside down on a flat surface.
-
Pop and Lift: Gently press down on the back of the pegboard to release the fused creation. Don’t pry or force the creation off, as this could damage it.
-
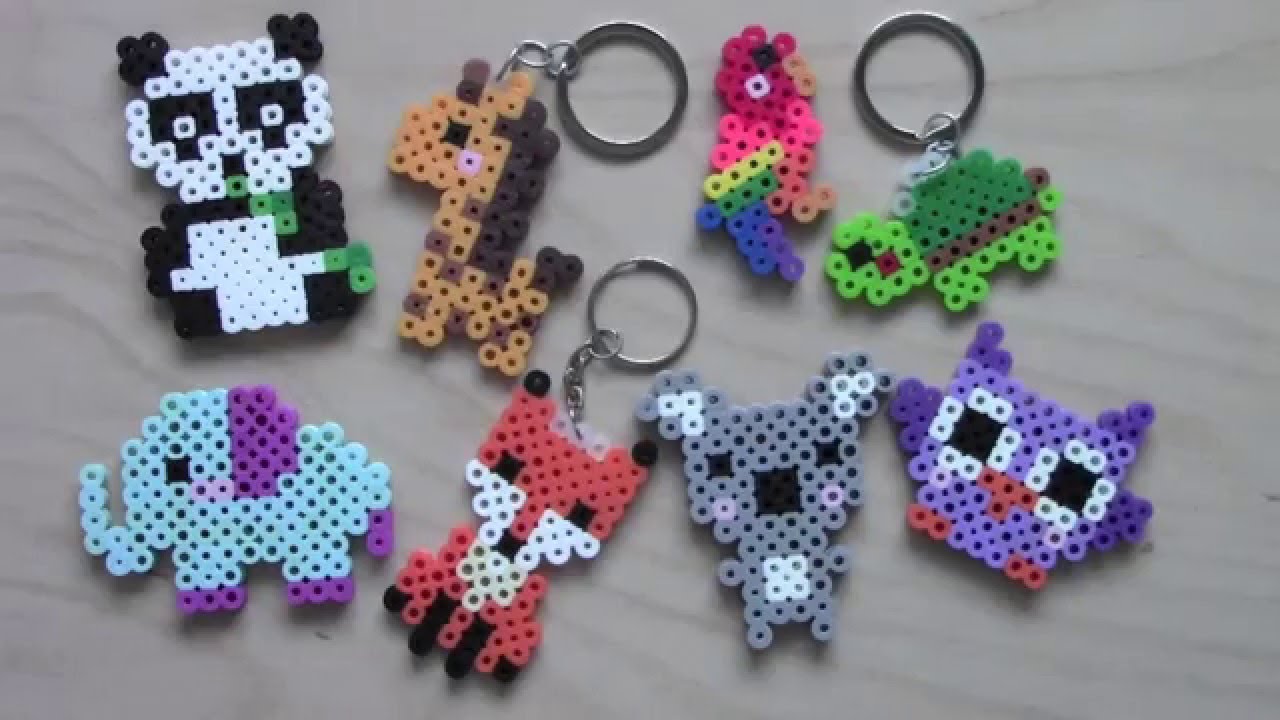
Celebrate Your Creation: Admire your adorable pixelated animal creation! You can now display it proudly, use it as a keychain or magnet, or gift it to a loved one.
-