Tying a bracelet with beads is a delightful craft that allows you to create unique and personalized accessories. Whether you’re a seasoned jewelry maker or a curious beginner, this guide will walk you through the process step by step. We’ll cover everything from choosing the right materials to securing the perfect knot. Let’s dive in!
Choosing Your Materials
Before you start crafting, it’s essential to gather the necessary materials. Here’s a breakdown of what you’ll need:
- Beads: These are the heart of your bracelet. Choose beads that match your style and desired aesthetic. Consider factors like size, shape, color, and material (glass, crystal, stone, etc.).
- Beading wire or cord: This will serve as the foundation for your bracelet. Opt for a wire or cord that is strong enough to hold the weight of your beads but flexible enough to work with easily.
- Clasp: This will secure your bracelet on your wrist. There are various types of clasps available, such as lobster clasps, magnetic clasps, or toggle clasps.
- Jump rings: These small metal rings connect the clasp to your bracelet.
- Beading tools: These include pliers, cutters, and a beading needle (if needed).
Measuring Your Wrist
To ensure a comfortable fit, measure your wrist accurately. Wrap a flexible measuring tape around your wrist, making sure it’s snug but not too tight. Add about an inch to this measurement to account for the clasp and overlap.
Stringing Your Beads
Once you have your materials ready, it’s time to start stringing your beads. Here are some tips:
- Thread the wire or cord: Pass one end of the wire or cord through the clasp and secure it with a small knot.
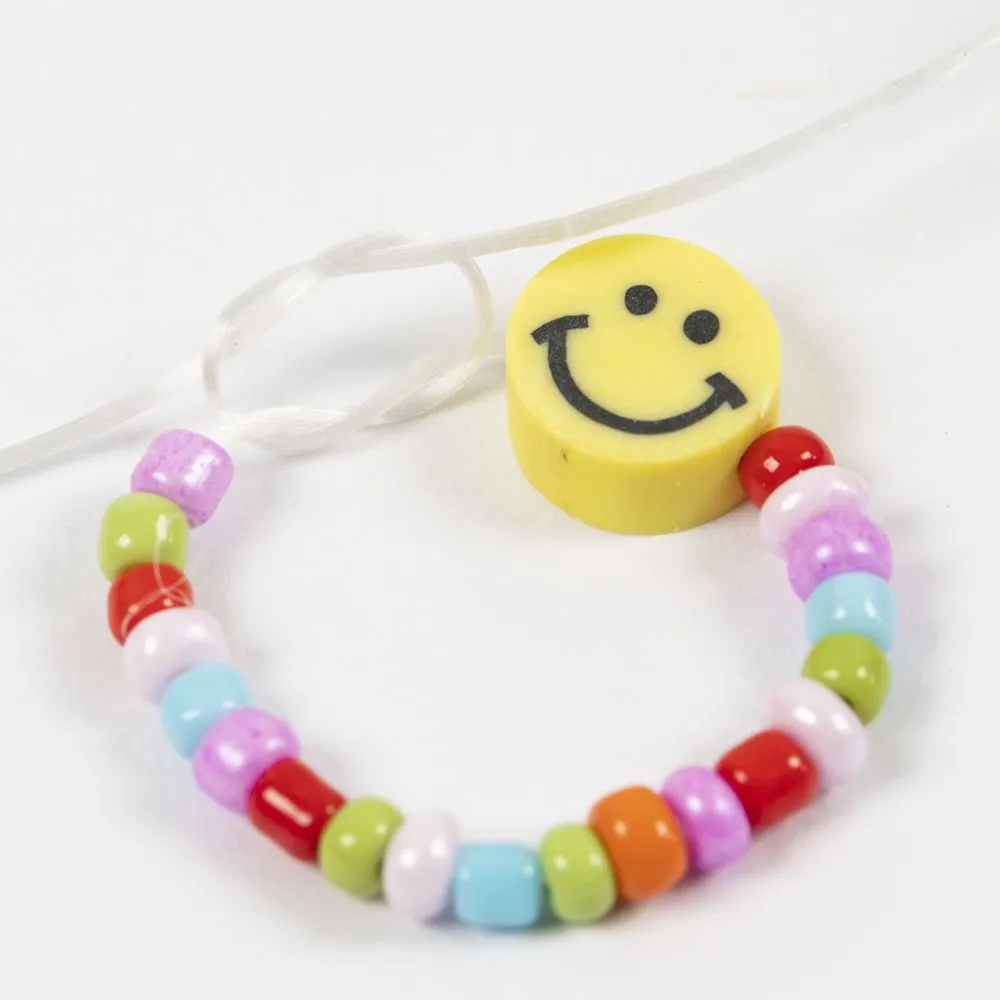
- Add beads: Slide the beads onto the wire or cord one by one. Consider the pattern or design you want to create. You can experiment with different combinations and arrangements.
- Maintain consistency: Ensure the beads are evenly spaced along the wire or cord for a polished look.
- Check the length: Regularly measure the length of your bracelet as you add beads to avoid it being too long or short.
Securing the End
Once you’ve reached your desired length, it’s time to secure the end of your bracelet. Here are two common methods:
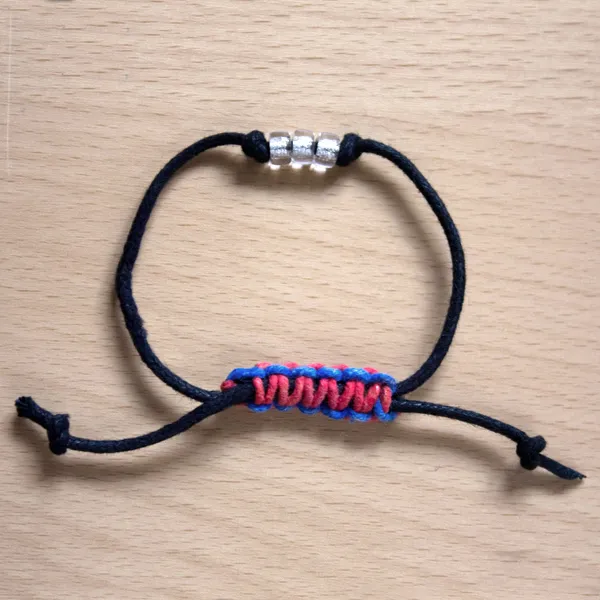
- Knotting: Thread the end of the wire or cord back through the last few beads to create a strong knot. You can repeat this process a few times for extra security.
- Using a crimp bead: Slide a crimp bead onto the wire or cord. Pass the end of the wire or cord back through the crimp bead and use pliers to flatten it securely.
Attaching the Clasp
To complete your bracelet, attach the clasp. Here’s how:
- Open jump rings: Use pliers to open the jump rings.
- Attach clasp: Connect one end of the clasp to the wire or cord using a jump ring.
- Attach other end: Attach the other end of the clasp to the opposite end of the bracelet using another jump ring.
- Close jump rings: Carefully close the jump rings with pliers.
Finishing Touches
To enhance the appearance of your bracelet, consider adding finishing touches:
- Tassels: Attach small tassels to the ends of the bracelet for a bohemian look.
- Charms: Incorporate charms that hold personal significance or complement the overall design.
- Bead caps: Use bead caps to protect the ends of your bracelet and add a decorative element.
Tips for Success
- Practice makes perfect: Don’t get discouraged if your first attempt isn’t flawless. Keep practicing, and you’ll improve your beading skills over time.
- Experiment with different styles: Explore various bead combinations, colors, and patterns to create unique bracelets.
- Take care of your bracelets: Store your bracelets in a jewelry box or pouch to prevent damage and tangling.
Troubleshooting potential issues
Even the most experienced crafters encounter challenges. Here are some common beading problems and their solutions:
Beading Wire or Cord Issues
- Wire or cord breaking: Use high-quality wire or cord that is suitable for the weight of your beads. Avoid excessive force when stringing or closing clasps.
- Knots forming: Prevent knots by gently pulling the wire or cord as you add beads. If a knot forms, carefully unravel it with a needle or pin.
- Wire or cord fraying: Trim frayed ends with wire cutters. To prevent fraying, apply a small amount of beading wire finish to the ends.
Bead Issues
- Beads falling off: Ensure the wire or cord is securely threaded through the beads. Consider using crimp beads or knotting techniques to prevent bead loss.
- Beads getting stuck: If a bead is stuck, gently wiggle it back and forth while pulling the wire or cord. Avoid using excessive force, as this can damage the bead.
- Beads not matching: Carefully select beads for consistency in size, shape, and color. Sort your beads before starting your project.
Clasp Issues
- Clasp not closing properly: Check if the clasp is aligned correctly. If the problem persists, try using a different clasp.
- Jump rings opening: Close jump rings securely with pliers. Avoid opening and closing them multiple times.
General Tips
- Patience is key: Beading can be time-consuming, so take your time and enjoy the process.
- Practice makes perfect: The more you practice, the better you will become at beading.
- Experiment with different techniques: Don’t be afraid to try new things and explore different beading styles.
By following these tips and troubleshooting steps, you can overcome common beading challenges and create beautiful bracelets.
Suggestions for personalizing the bracelet
Adding a personal touch to your beaded bracelet can make it even more special. Here are some ideas:
Incorporate Meaningful Beads
- Birthstones: Choose beads that correspond to your birth month or the birth months of loved ones.
- Zodiac signs: Select beads that represent your zodiac sign or the signs of people close to you.
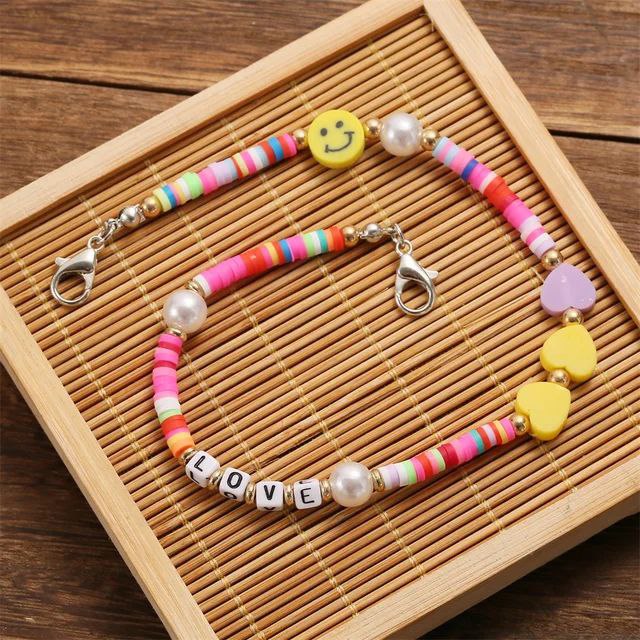
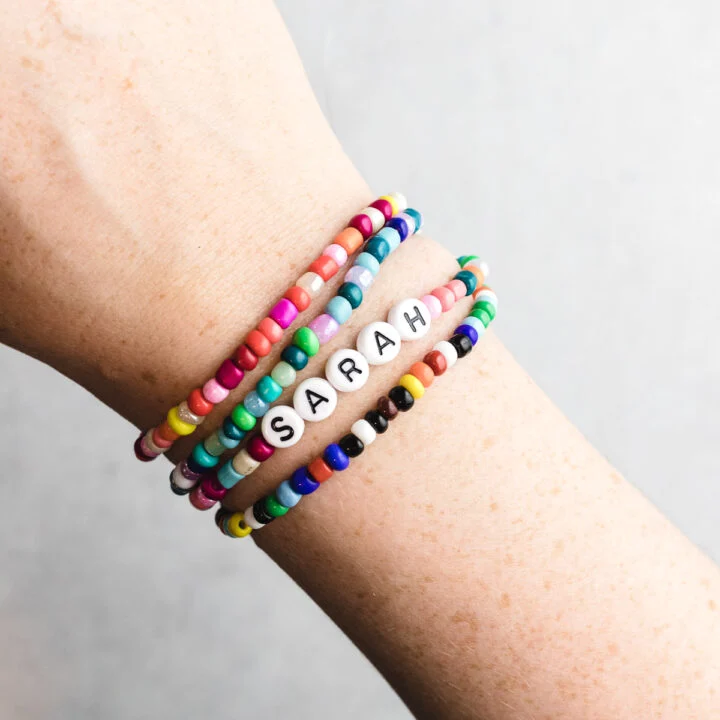
- Initial beads: Incorporate beads with initials to create a personalized message or name.
- Charm beads: Add charms that symbolize hobbies, interests, or special occasions.
Create Custom Patterns
- Color blocking: Experiment with different color combinations to create bold and eye-catching patterns.
- Ombre effect: Gradually transition from one color to another for a subtle and elegant look.
- Geometric designs: Use beads in various shapes to form geometric patterns like triangles, squares, or hexagons.
Tell a Story
- Friendship bracelets: Create matching bracelets with friends using beads that represent your bond.
- Memory bracelets: Include beads that remind you of special moments, places, or people.
- Inspirational bracelets: Use beads with positive messages or quotes to inspire yourself or others.
Experiment with Different Techniques
- Bead embroidery: Create intricate designs by stitching beads onto a fabric base.
- Bead weaving: Weave beads together to form complex and beautiful patterns.
- Bead crochet: Crochet with beads to create unique and textured bracelets.
Consider the Occasion
- Gifts: Personalize bracelets for birthdays, anniversaries, or holidays with specific colors, beads, or charms.
- Weddings: Create bridal bracelets with pearls, crystals, or other luxurious beads.
- Everyday wear: Design versatile bracelets that can be dressed up or down.
Remember, the possibilities are endless when it comes to personalizing your beaded bracelet. Let your imagination run wild and create a piece that truly reflects your style and personality.
Tying a bracelet with beads is a rewarding and creative endeavor. With a little patience and practice, you can create beautiful and personalized accessories. Remember to have fun and experiment with different designs to express your unique style. Happy beading!