Braiding beads are a fantastic way to add a touch of personality and flair to your hairstyle. They come in various sizes, colors, and materials, making them suitable for all ages and styles. This article will guide you through the process of adding beads to your braids, providing tips and tricks along the way.
Choosing the Right Beads
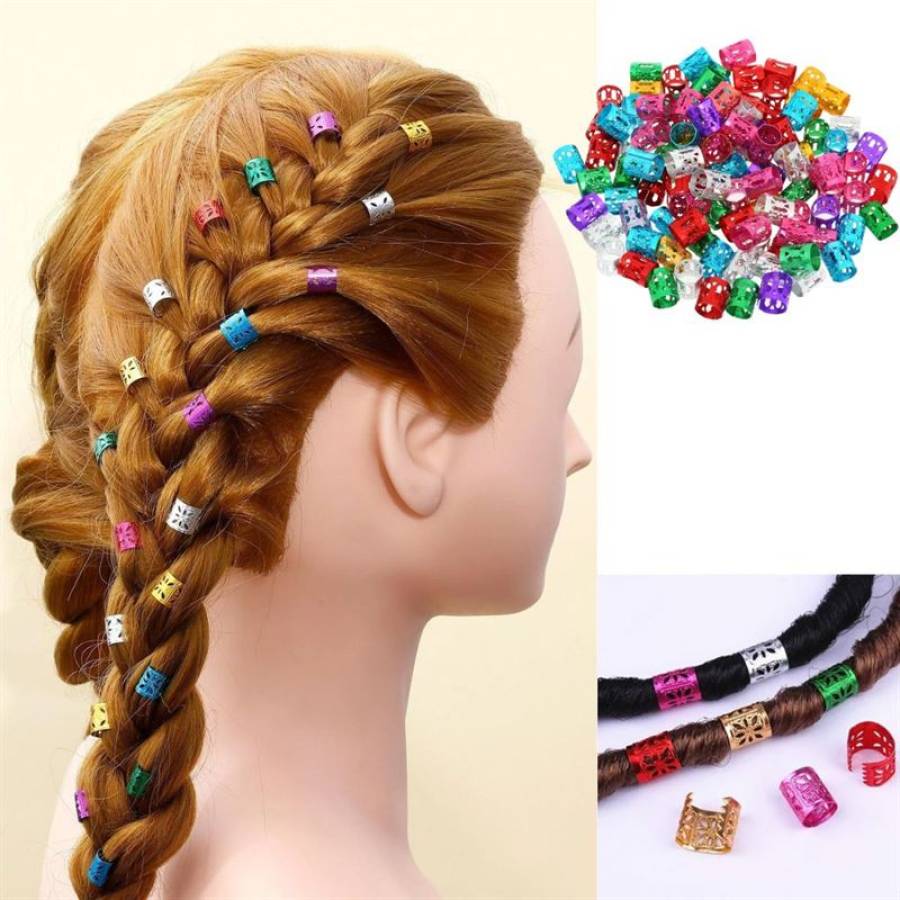
Before you begin braiding, it’s essential to select the right beads. Consider the following factors:
- Size: Choose beads that are small enough to fit comfortably between the strands of your braid.
- Material: Beads made of lightweight materials, such as glass or plastic, are generally easier to work with.
- Color: Select beads that complement your hair color and overall style.
Preparing Your Hair
To ensure a smooth braiding experience, prepare your hair as follows:
- Wash and condition: Clean hair is easier to braid and will hold the beads in place better.
- Detangle: Use a wide-tooth comb or your fingers to gently remove any knots or tangles.
- Apply a styling product: A lightweight styling product can help to control frizz and give your hair more hold.
Braiding with Beads
Once your hair is prepared, you can begin braiding. Here’s a step-by-step guide:
- Start the braid: Divide your hair into three sections and begin braiding as usual.
- Add beads: After braiding a few inches, slide a bead onto the middle strand.
- Continue braiding: Continue braiding, adding beads to the middle strand at regular intervals.
- Secure the braid: Once you have reached the desired length, secure the braid with a hair tie.
Tips for Braiding with Beads
- Use a beading needle: A beading needle can help to thread the beads onto the braid more easily.
- Be patient: Braiding with beads takes time and practice. Don’t get discouraged if it doesn’t come naturally right away.
- Experiment with different patterns: You can create unique braid patterns by adding beads in different ways.
- Consider using a hair extension: If your hair is short, you can use a hair extension to create longer braids.
Braiding Styles with Beads
There are countless braiding styles that you can incorporate beads into. Here are a few popular options:
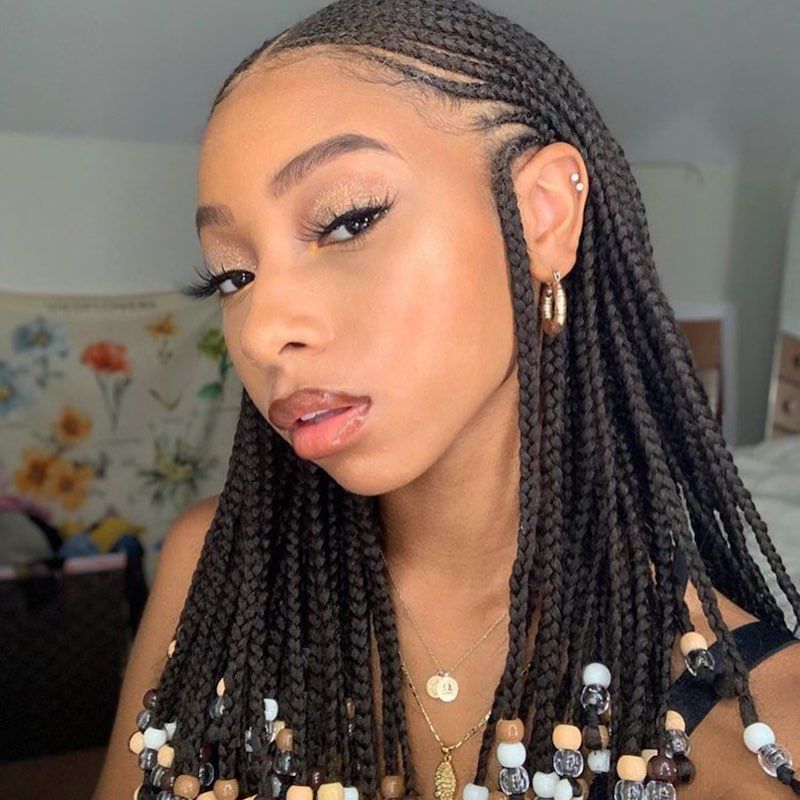
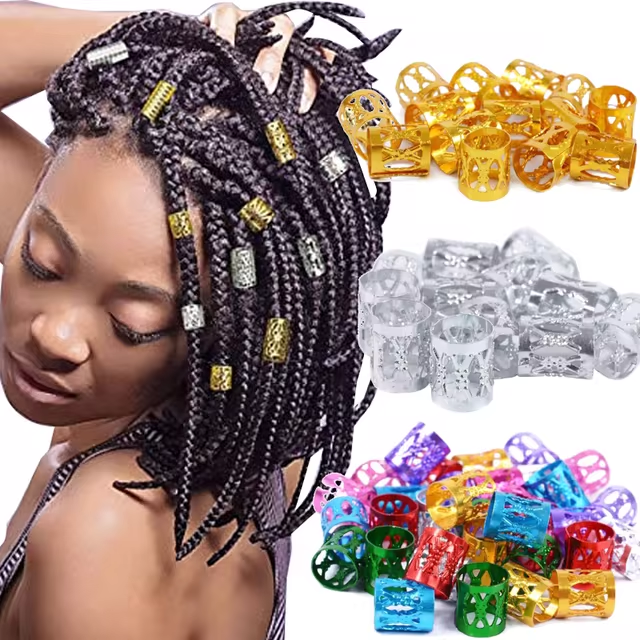
- Box braids: Box braids are a great way to showcase beads. You can add beads to the ends of each braid or incorporate them throughout the length.
- Cornrows: Cornrows offer a sleek and stylish look that can be enhanced with beads. You can add beads to the ends of the cornrows or place them along the braid lines.
- French braid: French braids are a versatile style that can be customized with beads. You can add beads to the middle strand of the braid or incorporate them into the braid lines.
Caring for beaded braids
Proper care is essential to maintain the health of your hair and the beauty of your beaded braids. Here are some tips to keep your braids looking their best:
Gentle Washing
- Avoid Frequent Washing: Excessive washing can strip your hair of natural oils and loosen the beads. Wash your braids every 1-2 weeks or as needed.
- Use Gentle Products: Opt for sulfate-free shampoos and conditioners designed for braided hair. These products will clean your scalp without damaging the braids.
Deep Conditioning
- Nourish Your Hair: Deep condition your braids once a week to keep your hair hydrated and healthy. Apply a deep conditioner to your scalp and the length of your braids, then cover with a shower cap or plastic bag for 30 minutes to an hour. Rinse thoroughly with warm water.
Moisture Retention
- Keep Your Hair Hydrated: Use a leave-in conditioner or hair oil to seal in moisture and prevent dryness. Apply these products to your braids daily or every other day.
- Protect from Elements: Wear a scarf or hat to shield your braids from the sun, wind, and rain.
Gentle Detangling
- Avoid Excessive Pulling: Detangle your braids gently using your fingers or a wide-tooth comb. Start from the ends and work your way up to the roots to avoid pulling and breakage.
Sleep Protection
- Prevent Frizz: Tie your braids loosely before bed to prevent frizz and tangles. You can also sleep on a satin or silk pillowcase to reduce friction.
Avoid Excessive Manipulation
- Minimize Pulling: Limit the amount of pulling and tugging on your braids. Excessive manipulation can loosen the beads and damage your hair.
Remove Beads Carefully
- Avoid Damage: When you’re ready to remove the beads, do so carefully to avoid damaging your hair. Use a beading needle or your fingers to gently slide the beads off.
Consult a Professional
- Seek Expert Advice: If you’re unsure about caring for your beaded braids, consult with a hairstylist or braider. They can provide personalized tips and recommendations.
By following these tips, you can keep your beaded braids looking beautiful and healthy for longer.
Caring for Braids with Beads
To keep your braids with beads looking their best, follow these care tips:
- Wash gently: Use a gentle shampoo and conditioner to clean your braids without disturbing the beads.
- Avoid excessive manipulation: Limit the amount of pulling and tugging on your braids, as this can loosen the beads.
- Keep them dry: Wet braids can stretch and become misshapen. Try to keep them dry as much as possible.
- Remove beads carefully: If you want to remove the beads, do so gently to avoid damaging your hair.
Styling options for beaded braids
Beaded braids offer a versatile and stylish way to adorn your hair. Here are some creative styling options to inspire you:
Classic Bun
- Sleek and Sophisticated: Gather your beaded braids into a high or low bun for a polished and elegant look.
- Accessorize: Add a hair clip or ribbon to the bun for extra flair.
Half-Up Half-Down
- Playful and Versatile: Style your beaded braids in a half-up half-down style for a casual yet chic look.
- Experiment: Try different variations, such as a high half-up or a low half-down.
Braided Ponytail
- Sporty and Stylish: Create a braided ponytail by gathering your beaded braids together and securing them with a hair tie.
- Add Volume: Tease the roots of your braids for a fuller ponytail.
Braided Crown
- Bohemian and Romantic: Weave your beaded braids into a crown around your head for a whimsical and ethereal look.
- Experiment: Try different variations, such as a half-crown or a braided headband.
Updo
- Formal and Elegant: Create a complex braided updo by combining different braiding techniques and incorporating your beaded braids.
- Accessorize: Add flowers, hair accessories, or even small pieces of jewelry to enhance the look.
Asymmetrical Braids
- Edgy and Unique: Style your beaded braids in an asymmetrical pattern for a modern and eye-catching look.
- Experiment: Try different lengths and angles for a personalized style.
Beach Waves with Braids
- Casual and Chic: Create loose beach waves in your hair and incorporate beaded braids for a relaxed and effortless look.
- Accessorize: Add a headband or a flower crown for a bohemian vibe.
Braided Mohawk
- Bold and Statement-Making: Style your beaded braids into a Mohawk for a daring and edgy look.
- Experiment: Try different heights and widths for a customized style.
Braided Pigtails
- Nostalgic and Fun: Create braided pigtails for a playful and youthful look.
- Accessorize: Add ribbons or bows to the pigtails for a touch of whimsy.
Side Braid
- Elegant and Versatile: Style your beaded braids into a side braid for a classic and feminine look.
- Experiment: Try different lengths and thicknesses for a personalized style.
Remember, these are just a few styling ideas. The possibilities are endless when it comes to beaded braids. Experiment with different techniques, accessories, and styles to find your perfect look.
Braiding beads are a fun and creative way to express your personal style. By following these guidelines and experimenting with different styles, you can create stunning and unique looks. With a little practice, you’ll be braiding with beads like a pro in no time.