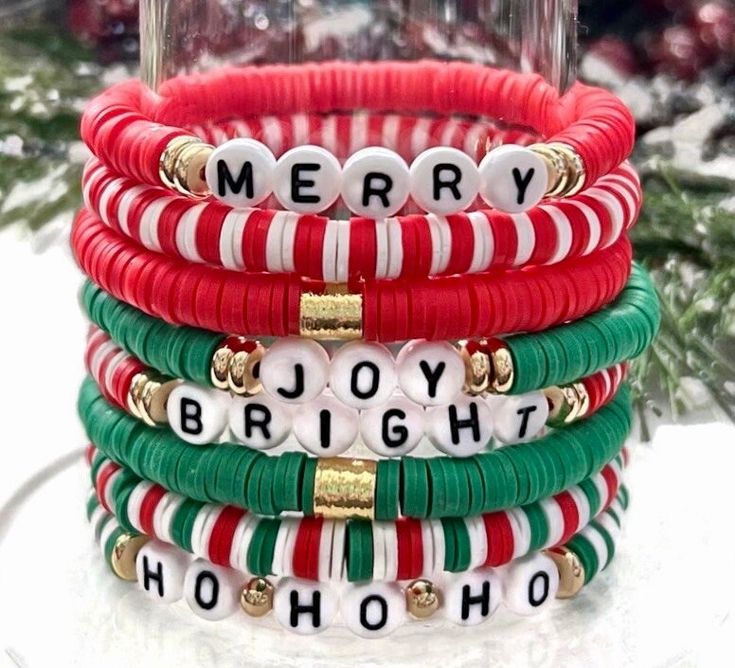
As the festive season approaches, the spirit of creativity and DIY crafting takes center stage. Homes are adorned with twinkling lights, Christmas trees stand tall and proud, and the air is filled with the aroma of freshly baked goodies. Among the many delightful handmade gifts and decorations that adorn homes and adorn loved ones, clay bead bracelets stand out as a charming and personalized touch. These versatile creations, with their endless possibilities for color combinations, patterns, and designs, can perfectly capture the essence of Christmas cheer. Whether you’re a seasoned clay bead aficionado or a curious beginner, this guide will inspire you with festive and fun Christmas clay bead bracelet ideas that will add a touch of handmade charm to your holiday celebrations.
I. Introduction
A. Brief overview of the enduring appeal of clay bead bracelets
Clay bead bracelets have captivated wearers for centuries, their enduring appeal rooted in their versatility, adaptability, and ability to reflect personal style. These delicate creations, ranging from simple strands of beads to intricate woven patterns, can elevate any outfit, adding a touch of elegance, playfulness, or bohemian flair. Whether gracing the wrists of royalty or adorning the arms of fashionistas, clay bead bracelets transcend time and trends, remaining a staple in the world of jewelry and handmade crafts.
B. Introduction of the benefits of crafting your own Christmas clay bead bracelets
Crafting your own Christmas clay bead bracelets offers a multitude of benefits that extend beyond the satisfaction of creating unique and personalized accessories. Here are some compelling reasons to embark on this DIY jewelry-making adventure:
-
Unleash Your Creativity: Clay bead bracelet creation provides a blank canvas for your artistic expression. Experiment with different bead shapes, sizes, colors, and patterns to reflect your unique taste and holiday spirit.
-
Cost-Effective Alternative: DIY clay bead bracelets can be a more economical option compared to store-bought bracelets, especially if you opt for simple designs and readily available materials.
-
Personalized Touch: Crafting your own bracelets allows you to tailor the design to your personal style and preferences. Whether you prefer bold statement pieces or delicate minimalist bracelets, you can create something that perfectly complements your holiday look.
-
Bonding Experience: The process of creating clay bead bracelets can be a fun and bonding experience for yourself or with friends and family. It’s a chance to share your creativity, learn new skills, and enjoy the satisfaction of creating something beautiful together.

II. Gathering Materials and Tools
A. Essential materials: Polymer clay, beading tools, baking tools, string or cord
Before embarking on your Christmas clay bead creation journey, it’s crucial to gather the essential materials and tools. Here’s a checklist of what you’ll need:
-
Polymer clay: This versatile modeling clay comes in a wide range of colors, making it perfect for creating festive Christmas beads. Choose colors that align with your desired designs and the traditional Christmas palette.
-
Beading tools: These tools will assist you in shaping, cutting, and decorating your clay beads. Essential tools include a bead roller, clay cutters, sculpting tools, and a needle or toothpick for piercing holes.
-
Baking tools: Baking your clay beads is essential to harden and set their shape. You’ll need an oven and a baking sheet lined with parchment paper.
-
String or cord: This will serve as the foundation for your bracelet, holding your clay beads together. Choose a string or cord that is strong, durable, and complements the style of your bracelet.
B. Optional materials: Clay cutters, molds, stamps, texture sheets, glitter, glaze
If you’re looking to enhance your Christmas clay bead creations, consider adding these optional materials:
-
Clay cutters: These handy tools allow you to create uniform beads in various shapes and sizes, such as stars, snowflakes, and Christmas ornaments.
-
Molds: Silicone molds provide a quick and easy way to create intricate bead designs, such as snowflakes, holly leaves, or Santa hats.
-
Stamps: These decorative stamps can add texture, patterns, and designs to your clay beads, creating a more personalized and festive look.
-
Texture sheets: These sheets are embossed with various textures, allowing you to add visual interest and dimension to your beads.
-
Glitter: Sprinkle glitter onto wet clay for a touch of sparkle and festive cheer.
-
Glaze: Coating finished beads with a layer of glaze will add shine, protect the beads, and enhance their overall appearance.
III. Choosing Polymer Clay Colors
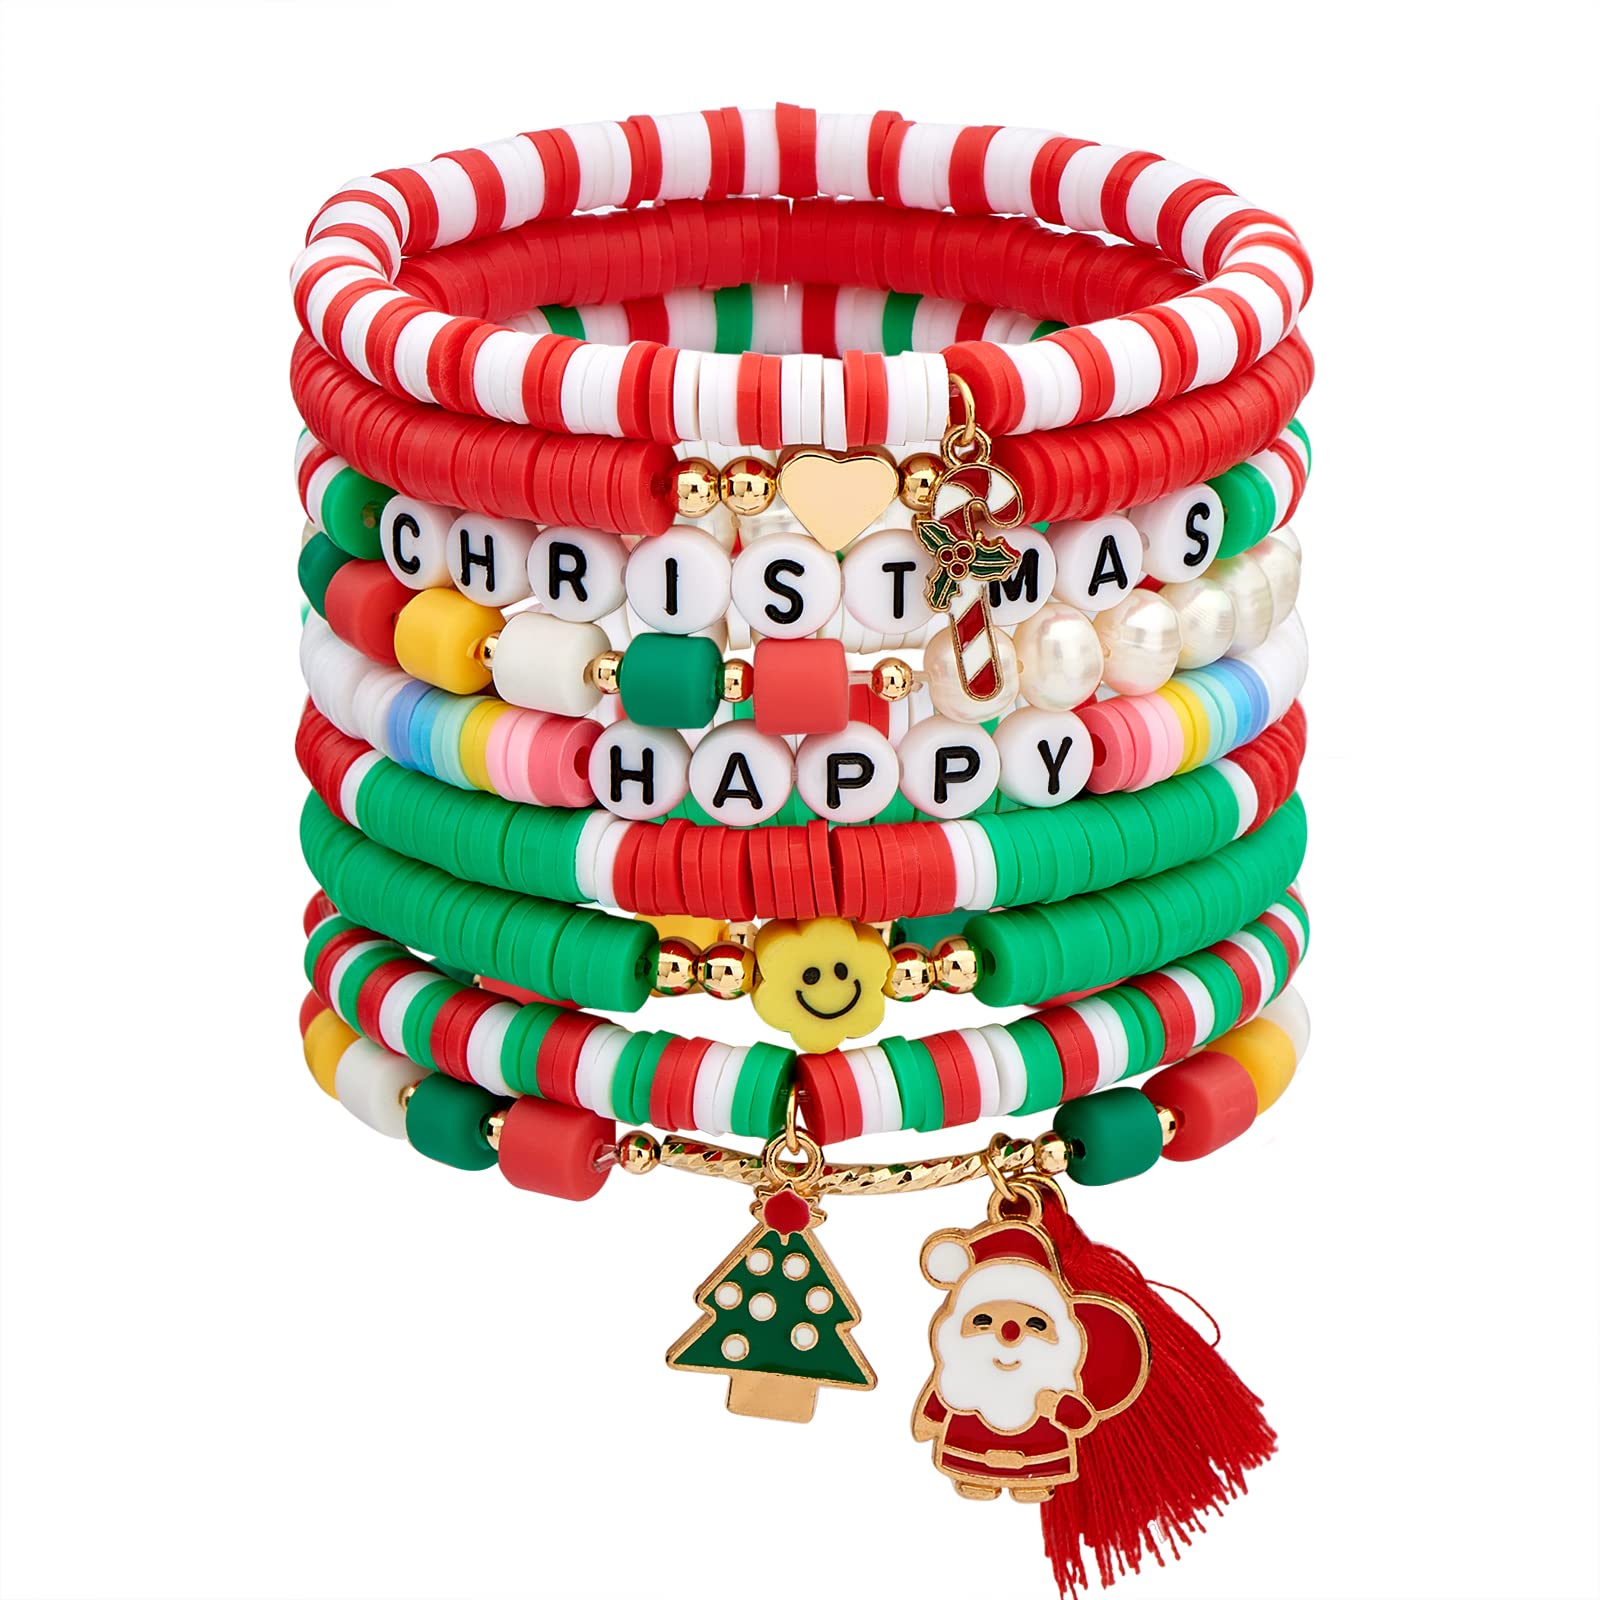
A. Traditional Christmas colors: Red, green, white, gold, silver
The color palette of your clay beads plays a crucial role in the overall aesthetic and festive spirit of your Christmas bracelets. Consider incorporating traditional Christmas colors.
B. Festive hues: Bright red, emerald green, snowy white, shimmering gold, elegant silver
While traditional colors are a great starting point, don’t be afraid to explore festive variations:
-
Bright red: A more intense red can add a bolder and more playful touch to your bracelets.
-
Emerald green: This rich green evokes the beauty of Christmas trees and adds a touch of sophistication.
-
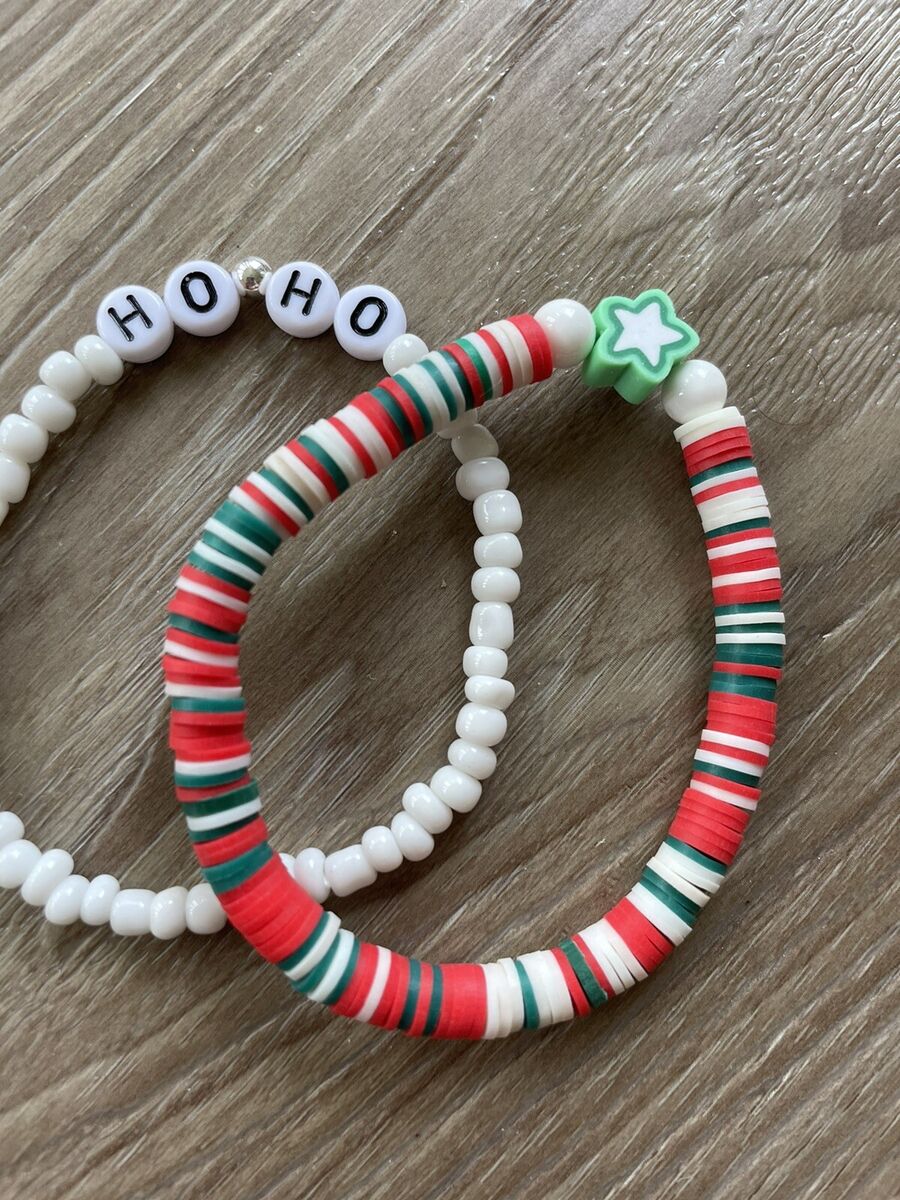
Snowy white: This classic color represents the winter wonderland magic of Christmas and pairs beautifully with other festive hues.
-
Shimmering gold: A touch of gold adds a touch of elegance and luxury to your creations.
-
Elegant silver: Silver offers a cool and sophisticated counterpoint to warmer colors and adds a touch of sparkle.
C. Complementary colors: Red and green, blue and silver, purple and gold
For a more vibrant and eye-catching look, consider incorporating complementary color combinations:
-
Red and green: This classic Christmas pairing is always a festive choice.
-
Blue and silver: This cool color combination evokes a wintery feel and adds a touch of serenity.
-
Purple and gold: This regal combination adds a touch of luxury and sophistication to your bracelets.
Remember, the beauty of creating your own clay bead bracelets lies in the freedom to experiment and express your personal style. Don’t be afraid to mix and match colors to create unique and festive combinations!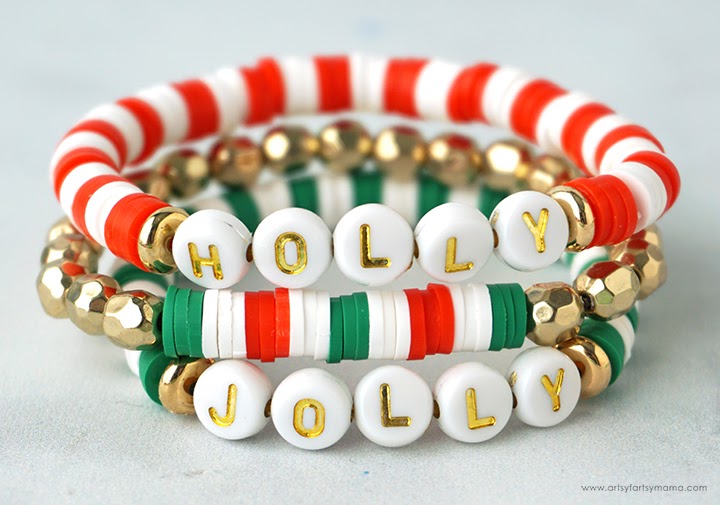
IV. Essential Clay Bead Shaping Techniques
A. Rolling clay into beads: Basic technique for creating round and cylindrical beads
Now that you have your materials gathered and your color palette chosen, it’s time to start shaping your clay beads! Here are some essential techniques:
-
Rolling: Condition your polymer clay by gently warming it up with your hands. Roll out the softened clay into a sheet of even thickness using a bead roller or rolling pin.
-
Cutting beads: Use a sharp knife or clay cutters to cut out desired shapes from the rolled-out clay sheet. Round cookie cutters can be used to create classic round beads, while star-shaped cutters or snowflake cutters add a festive touch.
B. Shaping beads by hand: Creating unique shapes like stars, snowflakes, and Christmas ornaments
For a more personalized touch, you can also shape your beads by hand:
-
Pinching and molding: Pinch off small pieces of clay and roll them between your fingers to create round beads. You can also gently mold the clay into desired shapes like stars, snowflakes, or Christmas ornaments using sculpting tools.
-
Carving details: Use sculpting tools or toothpicks to add details and textures to your hand-shaped beads, such as facial features on a snowman bead or stripes on a candy cane bead.
C. Using clay cutters: Creating uniform beads in various shapes and sizes
Clay cutters offer a quick and easy way to create uniform beads in various shapes and sizes:
-
Selecting cutters: Choose clay cutters that complement your Christmas theme, such as stars, snowflakes, bells, or Christmas trees.
-
Cutting beads: Press the clay cutter firmly into the rolled-out clay sheet to cut out multiple identical beads with ease.
D. Molding clay: Forming beads using silicone molds for intricate designs
Silicone molds provide a fun and efficient way to create intricate bead designs:
-
Selecting molds: Choose silicone molds with Christmas-themed designs like snowflakes, holly leaves, or Santa hats.
-
Pressing clay into molds: Press softened clay firmly into the mold cavities, ensuring all details are filled. Gently remove the clay from the mold, revealing your perfectly formed bead.
V. Decorating Clay Beads
A. Adding texture: Using texture sheets, stamps, or tools to create patterns and designs
Once your clay beads are shaped, you can add texture and visual interest:
-
Texture sheets: Lay your softened clay on a textured sheet and gently press it down to transfer the pattern onto the clay surface.
-
Stamps: Press decorative stamps onto the clay to create festive patterns, snowflakes, or reindeer motifs.
-
Sculpting tools: Use sculpting tools to create lines, dots, or other textured designs on your clay beads.
B. Embellishing with glitter: Sprinkling glitter onto wet clay for a festive sparkle
For an extra touch of holiday cheer, consider adding glitter to your clay beads:
-
Selecting glitter: Choose festive glitter colors like red, green, gold, or silver to complement your chosen color palette.
-
Applying glitter: While the clay is still wet, sprinkle glitter generously over the surface. Gently pat the glitter to ensure it adheres to the clay.