Perler beads, those tiny, colorful gems, are a popular crafting medium for both kids and adults. While they are typically used to create intricate patterns and designs, there’s another exciting way to use them: melting them into a solid, fused object. This process can result in unique, one-of-a-kind pieces that are both visually appealing and functional.
In this guide, we’ll walk you through the steps of melting Perler beads. We’ll cover everything from choosing the right beads and design to fusing them using different methods. So, let’s get started!
Choosing the Right Perler Beads
Before you begin, it’s important to select the right Perler beads for your project. Here are a few factors to consider:
- Type of beads: While most Perler beads are suitable for melting, some brands or types may have different properties. Check the packaging or manufacturer’s website for specific information.
- Color: The color of the beads will affect the final appearance of your melted piece. Consider the desired look and choose colors accordingly.
- Size: Perler beads come in various sizes, but for melting, it’s generally recommended to use the standard size (usually 5mm).
Creating Your Design
Once you have your beads, it’s time to create your design. You can start by sketching out your idea on paper or using a digital design tool. Remember, the simpler the design, the easier it will be to melt.
Assembling Your Creation
- Using a pegboard: This is the most common method. Simply peg the beads onto the board according to your design.
- Using a template: If you have a pre-made template, place it on a flat surface and arrange the beads on top.
- Free-form: For more advanced designs, you can arrange the beads directly on a flat surface without using a pegboard or template.
Preparing for Melting
Before you start melting, there are a few things you need to do:
- Choose a melting surface: You can use a baking sheet, ceramic tile, or a heat-resistant glass plate.
- Preheat your iron: Set your iron to a medium-high heat.
- Protect your workspace: Cover your workspace with newspaper or a heat-resistant mat to prevent damage.
Melting Methods
There are several ways to melt Perler beads:
- Ironing: This is the most common method. Place your design on the prepared surface and gently press the iron over the beads. Move the iron in a circular motion until the beads are fused together.
- Oven: If you’re melting a large piece or want to create a more even melt, you can use the oven. Preheat your oven to 400°F (200°C). Place your design on a baking sheet and bake for 10-15 minutes, or until the beads are fused.
- Heat gun: For more precise control, you can use a heat gun. Direct the heat gun over the beads until they are melted.

Cooling and Finishing
- Allow to cool: Once the beads are melted, let the piece cool completely before handling.
- Remove from surface: Carefully remove the melted piece from the surface.
- Add details: If desired, you can add details or embellishments to your finished piece.
Creative ideas for using melted perler bead designs
Beyond the traditional uses of melted Perler beads for home decor, functional items, and figurines, here are some more creative ideas:
Unique Gifts
- Personalized Gifts: Create custom gifts for friends and family by incorporating their names, initials, or favorite symbols into your designs.
- Custom Jewelry: Design and melt Perler beads into unique jewelry pieces, such as necklaces, bracelets, and earrings.
- Personalized Ornaments: Create custom ornaments for Christmas or other holidays with meaningful designs.
Interactive Projects
- Puzzle Pieces: Create puzzle pieces from melted Perler beads for a fun and challenging activity.
- Game Boards: Design and create custom game boards using melted Perler beads.
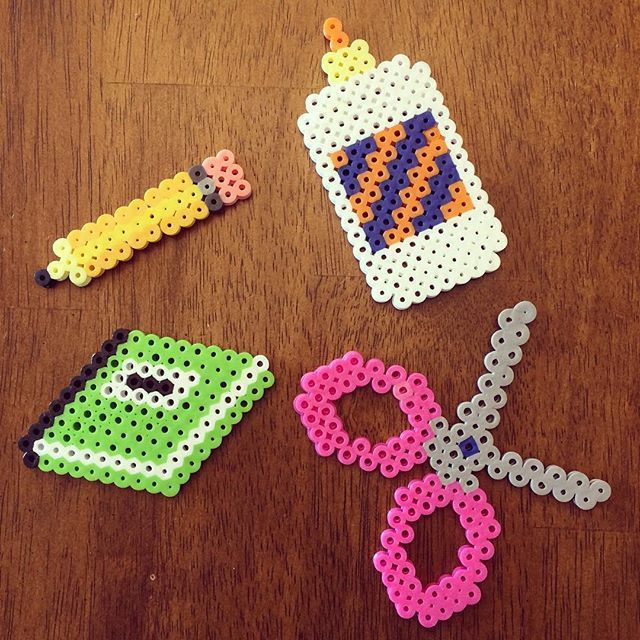
- DIY Toys: Create simple toys for children, such as spinners, fidget toys, or small figurines.
Art Projects
- Mixed Media Art: Incorporate melted Perler beads into other art projects, such as paintings, collages, or sculptures.
- Mosaic Art: Create colorful and intricate mosaics using melted Perler beads as tiles.
- Wall Art Installations: Design and create large-scale wall art installations using melted Perler beads.
Functional Items
- Custom Furniture: Create unique furniture pieces, such as chairs, tables, or shelves, using melted Perler beads as inlays or decorations.
- Home Decor Accessories: Design and create custom home decor accessories, such as lamps, vases, or picture frames.
- Custom Clothing: Add decorative elements to clothing using melted Perler beads, such as patches, appliqués, or embellishments.
Educational Tools
- Alphabet and Number Boards: Create educational tools for children by melting Perler beads into letters, numbers, or shapes.
- Sensory Toys: Design and create sensory toys using melted Perler beads, such as tactile puzzles or fidget toys.
- Educational Games: Create educational games using melted Perler beads, such as matching games or counting games.
Remember, these are just a few ideas to get you started. With a little creativity, you can find countless ways to use melted Perler bead designs to create unique, personalized, and functional items.
Tips and Tricks
- Use a parchment paper barrier: Placing a sheet of parchment paper between the iron and your design can help prevent the beads from sticking to the iron.
- Test your iron: Before starting, test the iron on a few beads to make sure it’s not too hot.
- Be patient: Melting Perler beads takes time. Don’t rush the process.
- Experiment: Don’t be afraid to experiment with different techniques and designs.
Examples of finished projects using melted perler beads
Home Decor
- Wall Art: Create stunning pieces of wall art by melting Perler beads into intricate designs.
- Coasters: Protect your surfaces with stylish coasters made from melted Perler beads.
- Pot Holders: Keep your hands safe while cooking with colorful and functional pot holders.
- Picture Frames: Customize your favorite photos with unique picture frames made from melted beads.
- Vases: Add a touch of personality to your home with decorative vases crafted from Perler beads.
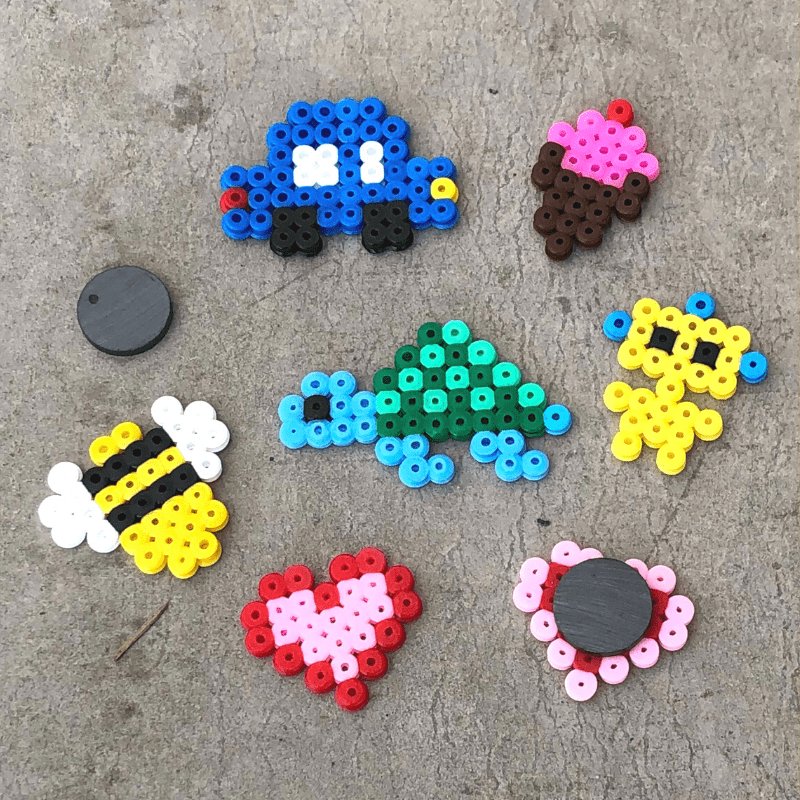
Functional Items
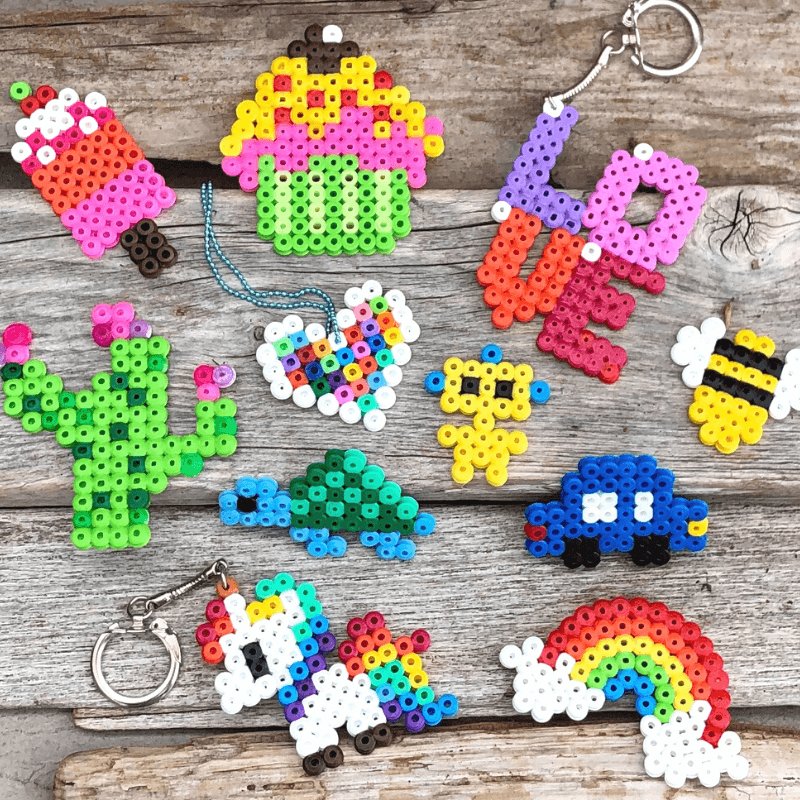
- Keychains: Keep your keys organized and stylish with handmade keychains.
- Magnets: Decorate your fridge or other metal surfaces with fun and functional magnets.
- Jewelry: Create one-of-a-kind pieces of jewelry, such as necklaces, bracelets, and earrings.
- Hair Accessories: Add a touch of whimsy to your hairstyle with melted Perler bead hair clips or headbands.
- Phone Cases: Protect your phone in style with a custom-made phone case.
Figurines and Characters
- Animals: Bring your favorite animals to life with melted Perler bead figurines.
- Video Game Characters: Recreate your favorite video game characters using Perler beads.
- Movie Characters: Pay homage to your favorite movies with melted Perler bead figurines.
- Cartoon Characters: Bring your favorite cartoons to life with colorful and whimsical designs.
Other Creative Projects
- Bookmarks: Keep your place in your favorite books with unique and eye-catching bookmarks.
- Ornaments: Decorate your Christmas tree or other holidays with festive ornaments made from melted Perler beads.
- Puzzles: Create challenging puzzles for yourself or others with melted Perler bead designs.
- Games: Design and create custom game pieces or boards using melted Perler beads.
Inspiration and Resources
For more inspiration and ideas, check out these resources:
- Pinterest: Search for “melted Perler bead projects” to find countless examples and tutorials.
- Reddit: Join the r/PerlerBeads community for inspiration, tips, and to share your creations.
- YouTube: Watch tutorials and demonstrations on melting Perler beads and creating different projects.
The possibilities are endless when it comes to melting Perler beads. Let your imagination run wild and create unique and personalized items that reflect your style and interests.
Melting Perler beads is a fun and rewarding way to create unique and personalized items. By following the steps outlined in this guide, you can create beautiful fused pieces that you’ll be proud to display. So, gather your beads, get creative, and start melting!